Examples of Marvel Instruction Sheets
Desktop
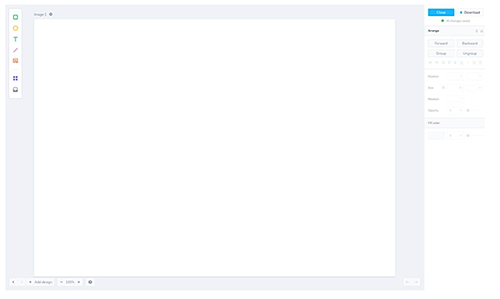
Green Square: You use this tool to draw a square/rectangle. You can change the color of the square/rectangle at the bottom right side of the screen. You can also add a border to the square/rectangle.
Yellow Circle: You use this tool to draw a circle. You can change the color of the circle at the bottom right side of the screen. You can also add a border to the circle.
Blue Text: You use this tool to type out your text. You can change the color of the text and the font style at the bottom right of the screen.
Pink Line: You use this tool to draw a line. You can change the color and size of the line on the bottom right side at the screen.
Red Photo “Stock photos and icons”: You use this to add default images and icons that Marvel provides for you. You can also use this to add images from your computer.
Purple Squares “Title, buttons and other add ons.”: You use this to use different title screens, you can add different variety of buttons and other add ons. You can change the color and text at the bottom right side of the screen.
Gray box: We will not be using this tool. Settings: The settings is the “gear” icon at the top left of the screen next to the word “Image”. This is where you can change the background color. You can also edit the Title name. You may also change this size of the canvas, however I would recommended leaving the size alone.
Arrange: You can place an image, shape and text Forwards and Backwards. Meaning you can set a text on top (Forwards) of an image (Backwards).
!You may share your project with the “share button”. It has the URL link to your prototype that you can insert to your Keynote.
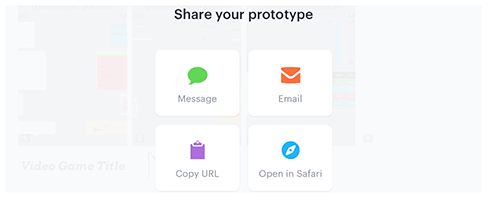
You may share your project with the “share button”. It has the URL link to your prototype that you can insert to your Keynote.
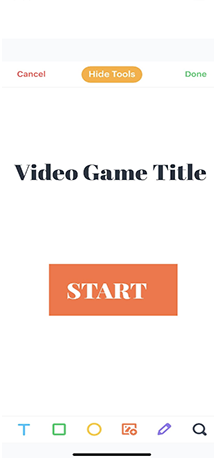
On the iPad
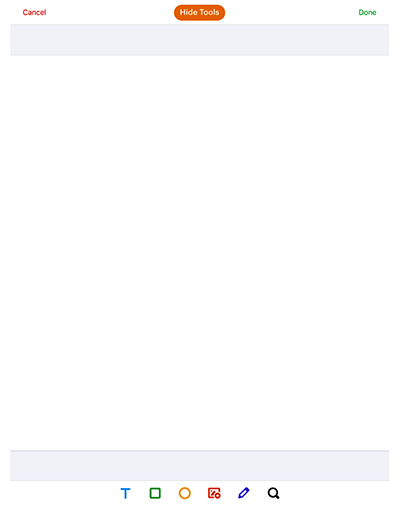
To display the tool bar, on the top of the screen tap on “Show tools”. You may also display the tool bar by tapping the screen once.
Green Square: You use this tool to draw a square/rectangle. You can change the color of the square/rectangle by double tapping the square/rectangle. You can also add a border to the square/rectangle.
Yellow Circle: You use this tool to draw a circle. You can change the color of the circle by double tapping the circle. You can also add a border to the circle.
Blue Text: You use this tool to type out your text. You can change the color of the text and the font style by double tapping the text.
Red Photo “Stock photos and icons": You use this to add default images and icons that Marvel provides for you. You can also use this to add images from your computer by double tapping the image.
Purple Pencil: You use this to draw.
Gray Search tool: You use this to add default Stock Phots, Icons and Avatars that Marvel Provides for you.
Arrange: You can place an image, shape and text Forwards and Backwards. Meaning you can set a text on top (Forwards) of an image (Backwards). In the iPad version, you double tap on the object you wish to arrange. Two grayed out squares will appear. One is to arrange backwards and the other is to arrange forwards.
You may share your project with the “share button”. It has the URL link to your prototype that you can insert to your Keynote.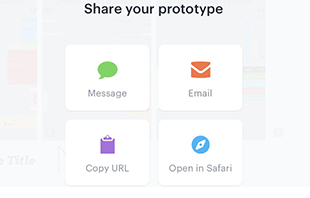
You may share your project with the “share button”. It has the URL link to your prototype that you can insert to your Keynote.
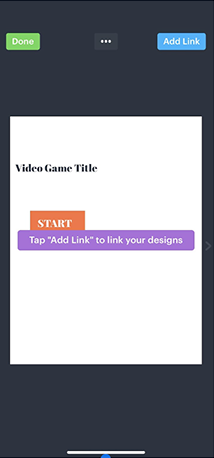
How to transition slides on Marvel
Step 1. Have a slide created
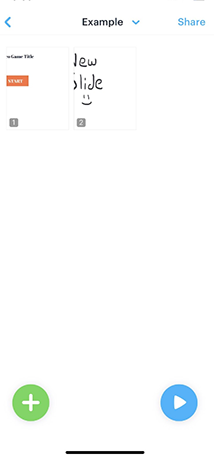
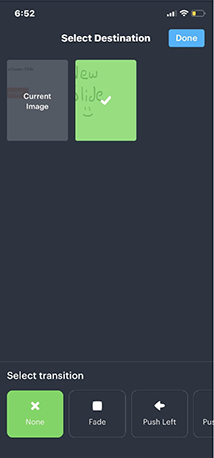
Step 2. Be sure to create another slide.